↑ Torna alla Galleria
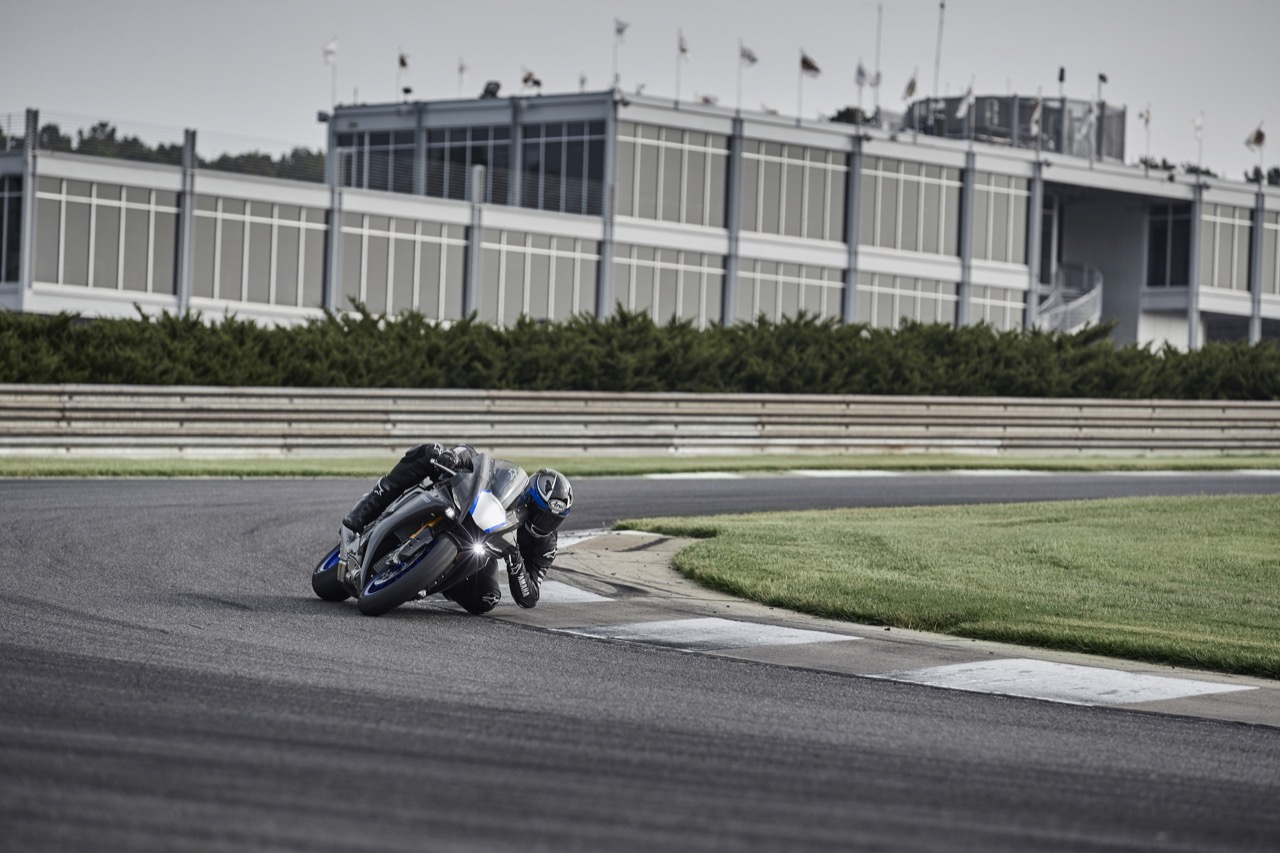
Yamaha YZF-R1 e YZF-R1M 2020 - Foto 124 di 62
« Foto Precedente
« Foto Precedente
Altre Foto della Galleria:
Yamaha YZF-R1 e YZF-R1M 2020