Airbrushing a helmet, part two
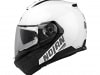
Our story continues, from preparation with sanding and primer, to the first part of painting

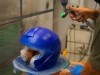
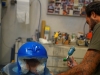

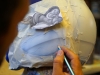

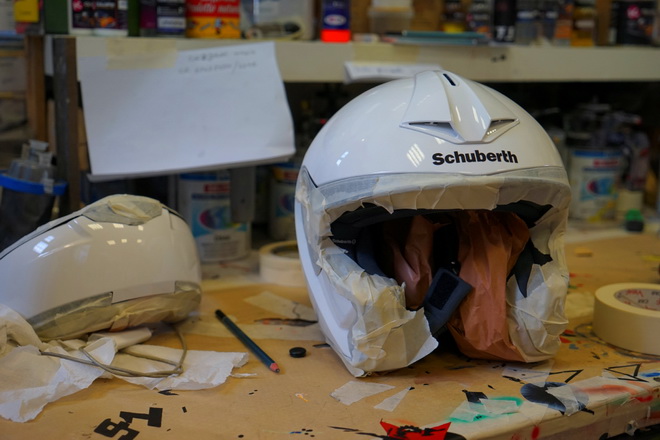
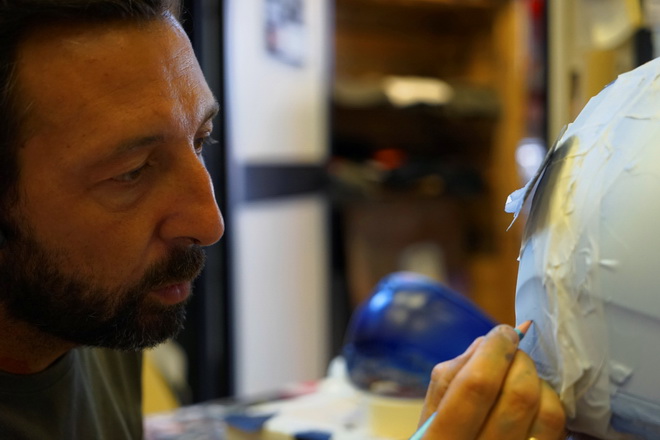
Airbrushing a helmet: After introducing you to the topic and following the first phases, from the choice of the helmet, through a rough definition of the graphics, to end with the disassembly and preparation of the helmet for the customization process with airbrush decorations, resumes the story, especially photographic, of the work that Mirko of Koro Design of Milan (www.aerografie.com) is completing. It starts with the conclude the operation to protect the internal parts and do not paint them with tape from body shop and paper.
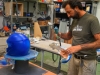
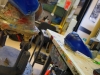
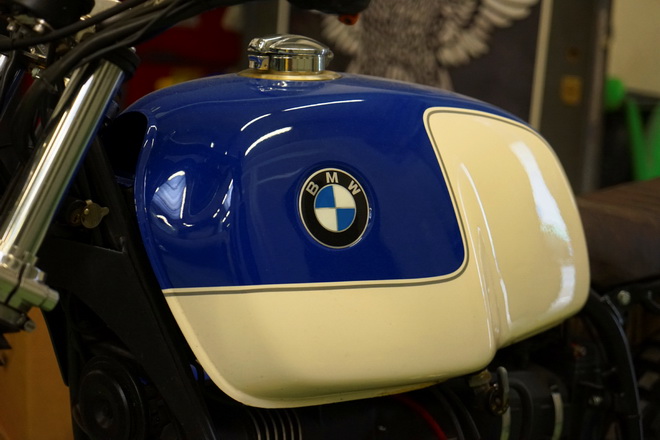
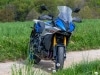
Subsequently we move on to the bodywork department. Here we open a small parenthesis, because many people think that carrying out airbrushing is a simple thing: I buy an airbrush, exploit my artistic skills and off we go... In reality To work professionally, most of the equipment in a body shop's paint shop is required, including the oven, machinery for mixing paints and creating specific colors, guns for painting and priming and much more. What seems easy is not at all. Even the helmet, as we will see later, after being finished must undergo a glossy protective paint and be dried inside the oven, like a car after being painted. In addition to helmets, as we told you previously, even a motorcycle tank like the one in this photo can be the subject of Mirko's care and customizations and his associates.
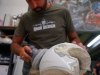
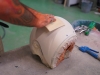
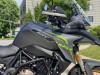
Returning to our helmet in the "bodywork department", we conclude the removal of the stickers using a body shop hairdryer and begin to sand with a first part by machine and a manual finishing.

This removes the glossy layer of the paint, which would not allow the paints to adhere optimally. The dust is eliminated with the air gun connected to a compressor and the primer is applied with the paint gun. In the case of a used helmet, perhaps with a few scratches, things become a little more complex, because it is necessary to eliminate imperfections with putty, which must then be sanded and covered with a thicker primer, using a more covering two-component product.

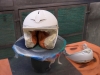
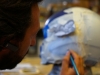
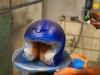
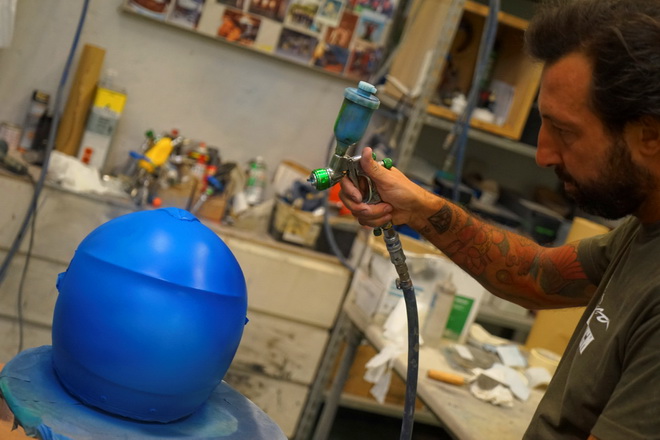
At this point, once the base has dried, go by hand giving a quick sanding to the entire surface and clean everything with anti-silicone thinner to eliminate impurities, including hand grease which could create defects in subsequent painting. At this point the most interesting part begins, that of the actual painting. The color that will act as the background is given with the paint gun, uniformly first, starting to work briefly on the design in the following steps. In our case Mirko uses 3-4 colours, washing the gun between each use.
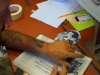
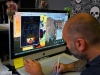
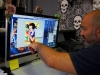
This phase is over you return to the first room, where the helmet had been dismantled and wrapped up, to continue the work. We don't start working with the airbrush yet, though, because first the graphics must be defined in detail, adapting the design to the spaces available on the helmet, to obtain a result that is harmonious and gives the right emphasis to the main elements of the chosen graphics. For a project like this they also use dozens of colors, some mixed to obtain the various shades. In our case then there is a further step. In fact, comics have very clear gaps, which prevent Mirko from working freehand as he normally does with the airbrush. It's necessary avoid the edges being blurred and this is only possible using masks, which must be printed and cut by hand. This is an operation that must be performed with great precision, freehand and with a scalpel, not a cutter, just to be more precise.
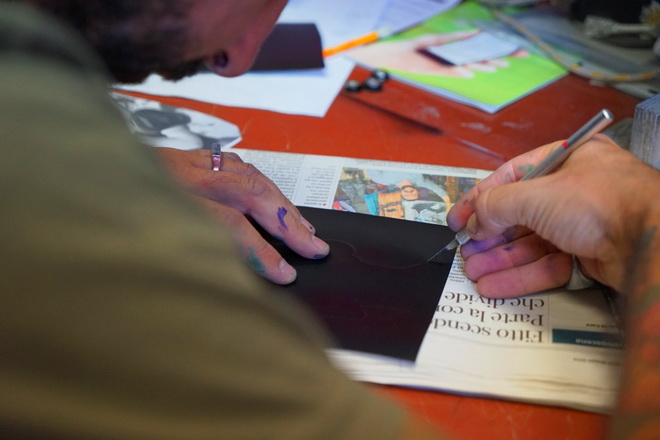
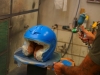
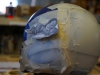
They are made with adhesive sheets and paper tape is used to make them adhere better to the helmet, then they are arranged by hand to prevent creases and imperfections from ruining the design.

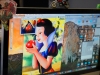
It's not yet time for the airbrush, because the last steps are missing. The drawing to be made must be printed in color and placed in a comfortable position to observe it during painting, but in our case Mirko helps himself with pencil by creating a trace which he will then cover during the actual execution of his work.
The photographs are taken with a Sony A7 Full-Frame Mirrorless camera with Vario-Tessar T FE 24-70 mm F4 ZA OSS lens
This part of our story ends here, the latest on the pages of Motorionline in the next few days, perhaps the most important and interesting part, before delivery of the finished helmet.
if you want to always be updated on our news
Follow us here


Pingback: Carshooting: Sony A7, the Full Frame mirrorless camera that can annoy the best SLRs [REVIEW]